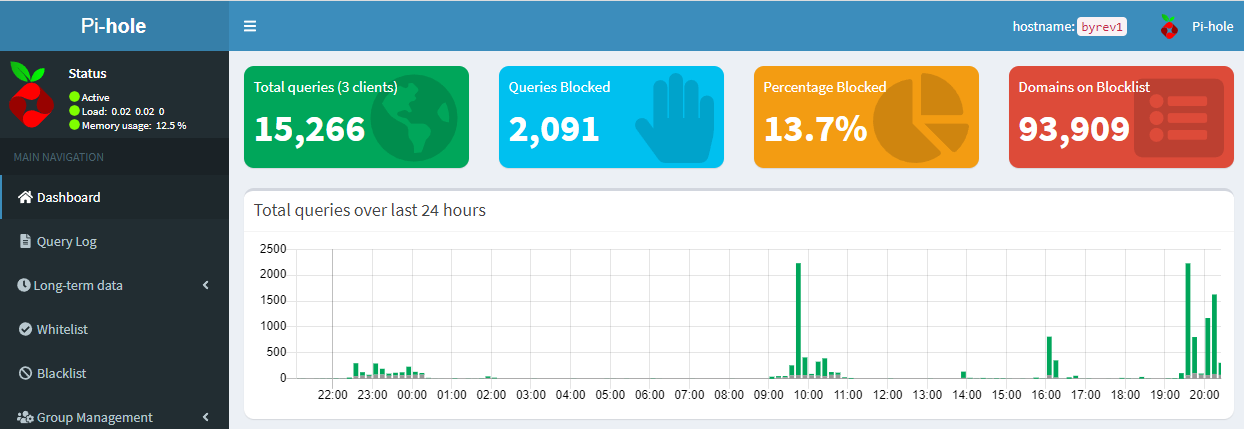
Step by step: Install OpenVPN + Pi-Hole ad-blocker + DNSCrypt-proxy for DoH and DNSSEC
Step 1. Update the system:
sudo apt update
sudo apt upgrade
Step 2. Install OpenVPN:
wget https://git.io/vpn -O openvpn-install.sh
chmod 755 openvpn-install.sh
sudo ./openvpn-install.sh
Generated opvn file can be used with an OpenVPN client in PC or cell phone. It can be found inside the /root directory, as /root/client-name.ovpn, where client-name is the name chosen during installation.
Note* don’t forget to choose to create a client with a password, don’t create accounts without secure access!
For more clients start ./openvpn-install.sh script again and use options to create another client.
Configure OpenVPN:
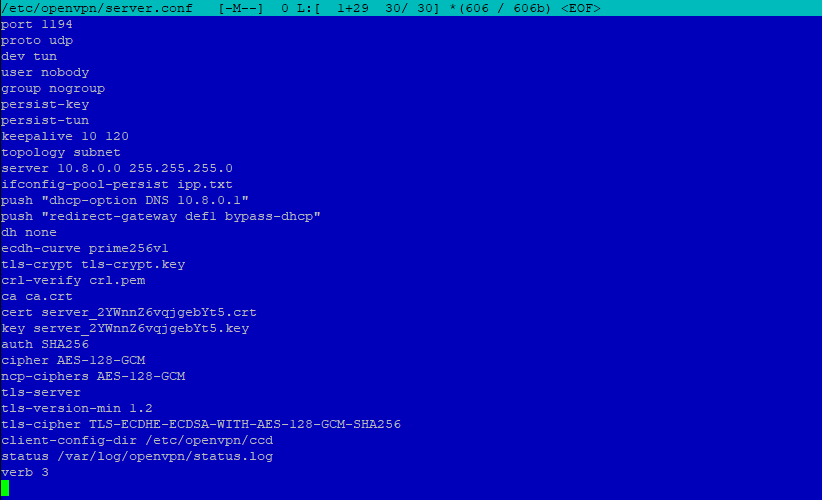
Edit OpenVPN server config file /etc/openvpn/server/server.conf
Add the tun0 interface IP address and remove or comment out other dhcp-option references :
push "dhcp-option DNS 10.8.0.1"
#push "dhcp-option DNS 1.1.1.1"
Restart OpenVPN server:
sudo systemctl restart openvpn
Step 3. Installing DNSCrypt:
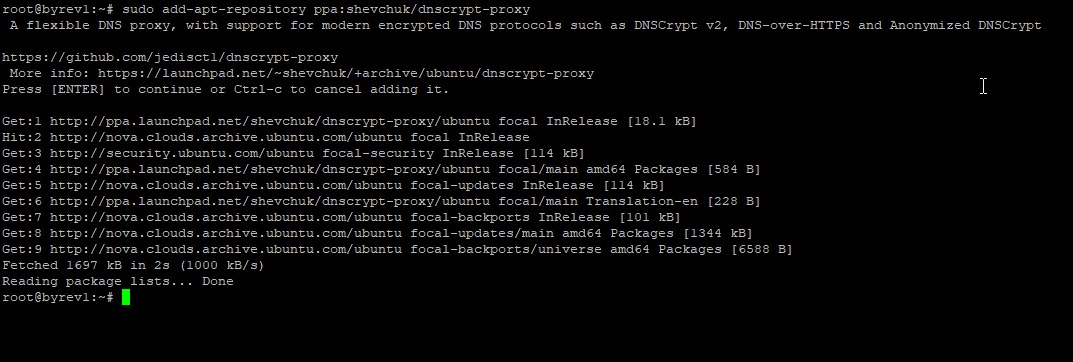
add the PPA repository to your system:
sudo add-apt-repository ppa:shevchuk/dnscrypt-proxy
update the package lists and install DNSCrypt Proxy
sudo apt update
sudo apt install dnscrypt-proxy
Configuring DNSCrypt
a) Change /etc/dnscrypt-proxy/dnscrypt-proxy.toml
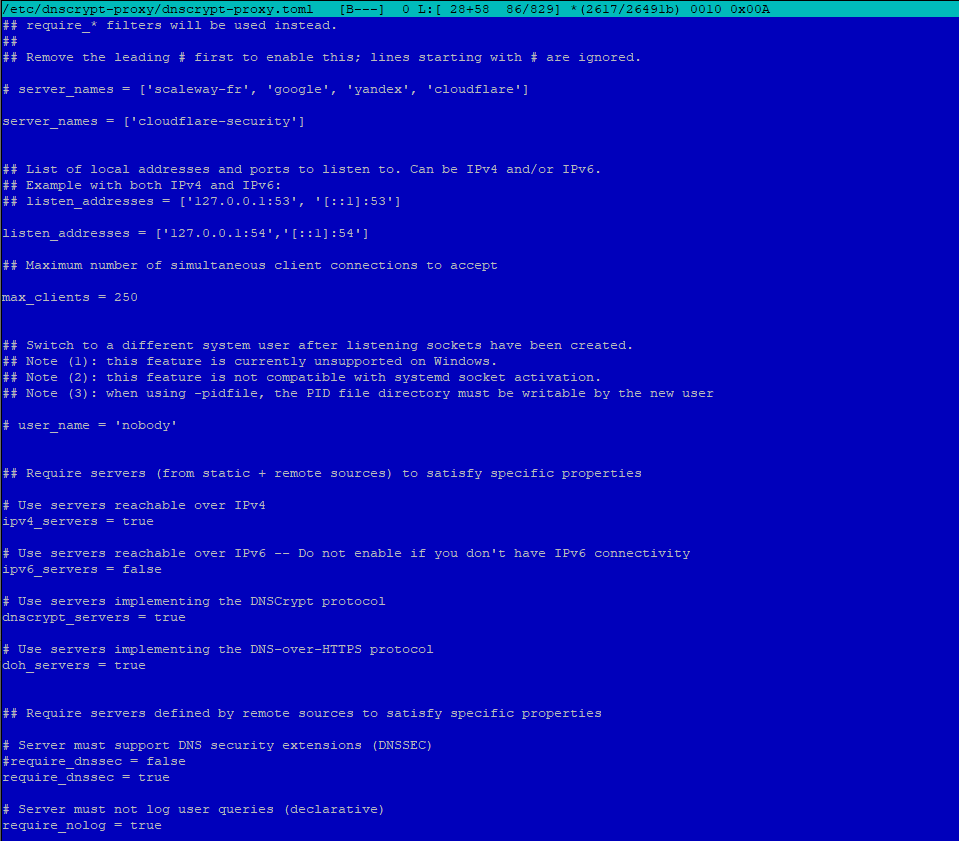
Open and edit /etc/dnscrypt-proxy/dnscrypt-proxy.toml and add supported server list (https://dnscrypt.info/public-servers/) surrounded by quotes to the array:
server_names = ['cloudflare-security']
As can be seen in the line above, I used a Cloudflare DNS that also ensures a minimum level of security against Malware: cloudflare-security is the option for DNS servers 1.1.1.2 and 1.0.0.2 !
Change/Set port in listen_addresses line and save the file:
listen_addresses = ['127.0.0.1:54','[::1]:54']
b) Change /lib/systemd/system/dnscrypt-proxy.socket
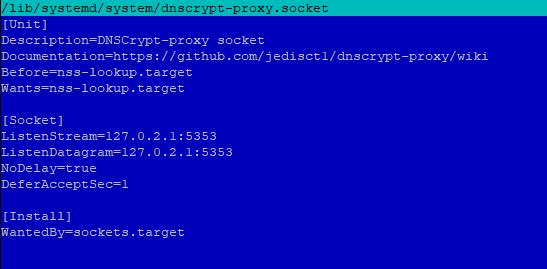
Edit /lib/systemd/system/dnscrypt-proxy.socket to change the default port to anything but not 53 as pi-hole already use port 53 by FTLDNS.
ListenStream=127.0.2.1:5353
ListenDatagram=127.0.2.1:5353
Save and exit your file. Then, restart the DNSCrypt service:
sudo systemctl restart dnscrypt-proxy
check DNSCrypt status:
sudo systemctl status dnscrypt-proxy
Step 4. Install Pi-Hole
wget -O basic-install.sh https://install.pi-hole.net
sudo bash basic-install.sh
Note* In the installation process, when you are asked to choose a interface, choose tun0 as an interface name for PiHole!
Configure Pi-Hole
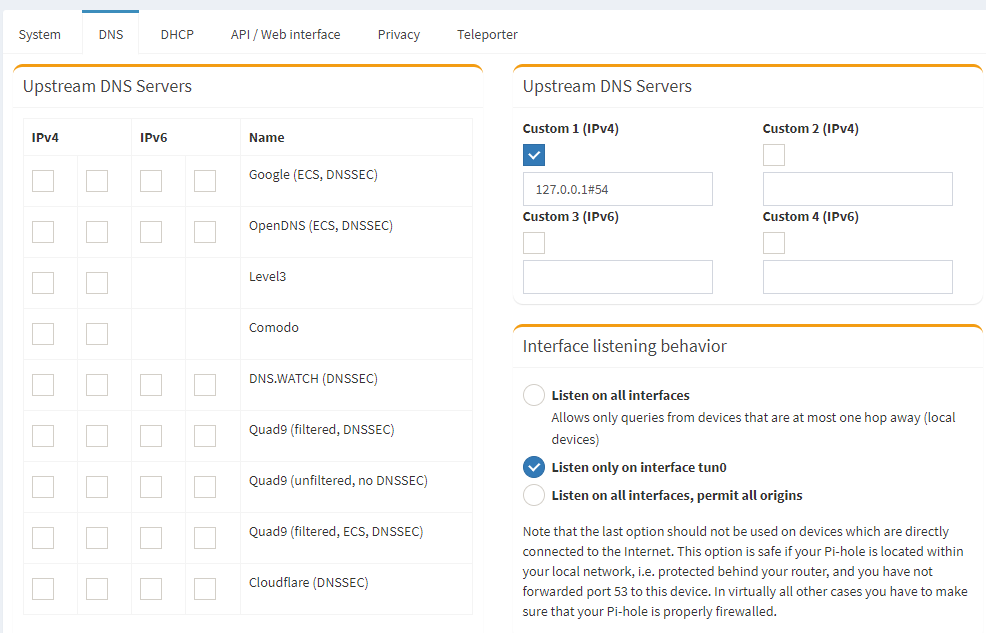
Later after installation, configure from the Pi-Hole web interface the DNS server to be used, in our case it must be local server configured for DNSCrypt-Proxy:
Upstream DNS Servers: => 127.0.0.1#54
By default rate limit is set to allow no more than 1000 queries per 60 seconds, which for me it wasn’t enought, so I personally changed the settings to a significantly higher value: 10,000 queries / minute. Specific rate limit can be defined in /etc/pihole/pihole-FTL.conf configuration file:
RATE_LIMIT=10000/60
Note* you can disable this limit by using the following RATE_LIMIT value (but it’s not a good idea for a server in production).
RATE_LIMIT=0/0
Restart DNS after modification:
sudo pihole restartdns
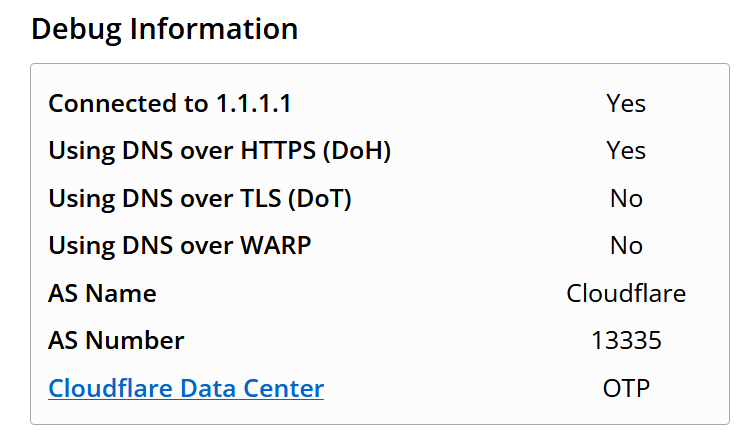
And finally, after everything has been correctly and completely configured, use next website to verify DNS over HTTPS (DoH) with cloudflare:




Leave a Reply
Your email address will not be published. Required fields are marked *